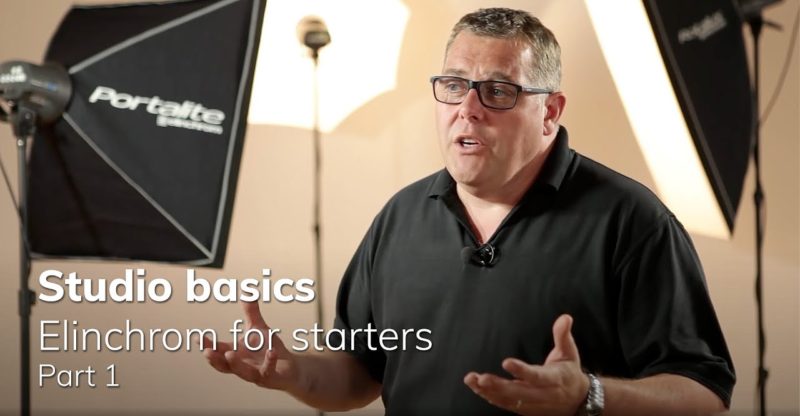
Studio Basics – Part1: Elinchrom for Starters
Studio flash photography is
not witchcraft, rather it is a form of science. Once you get started, it can seem a little complicated, but I'm going to unravel the secrets of this technique,
so that you can fully launch into studio flash photography. The main question I get asked
at trade shows is: What equipment do I buy? When it comes to Elinchrom flashes, the D-Lite product line is perfect for the introduction to studio flash. The D-Lite One is the flash
with the lowest power, then you have the D-Lite 2 and D-Lite 4,
each increasing their power by an F-Stop. But you have to ask yourself:
How much light do I need? This is really the question you need to ask yourself
before buying a flash product.
To start,
I recommend purchasing two flash heads, because that's when the magic happens. Once the kit is unpacked,
I'm ready to start the session straight away. All I need
is to get a perfect light exposure and a light meter, with which I can achieve
a perfect creative aperture. This means that I will be able to control
exactly what I shoot. So if I want an F4, I simply have to
increase or decrease the power in order to get the ideal aperture to work with. I can do this in two ways:
either on the back of the flash, or using Skyport technology,
which is both in the head but also on the top of the camera, allowing you
to increase or decrease the power of the flash.
light through 10 F-Stops, achieving the perfect light exposure every time. It must be remembered that every light
must do a job. For example, the main light's job is to illuminate the subject, the secondary light is used for the purpose
of separating the subject from the background, this could be a hair light
or a background light. Each of these lights must do its job
so that they do not cross each other, so as not to risk
light contamination, which could lose power
and ruin the true simplicity of the portrait.
Another choice to make when buying equipment is to choose between softboxes
or umbrellas. At some point,
I hope you have both. But for now,
I will opt for a softbox, which is an easier to control light source. However,
if I were to take group photographs, I would opt more for umbrella lighting
rather than softboxes, because this allows
the light to be diffused more widely, while softboxes tend to diffuse the light more precisely. The main light,
often described as the key light, is the most important lighting
in our staging.

It allows us to reproduce a subject
in three dimensions. It doesn't matter if I'm photographing a child,
a baby, a family or food. This light is there to give us
depth and texture. And depending on where we position it
in the studio or living room, it will give us a shadow, and the shadow gives a texture.
And this texture creates volume. And that's what we're trying to achieve
with key light. Regardless of its location, it will give us a creative image
if placed behind the subject, or obtain a flattering image of a well-lit subject when placed in front of it.
To make sure we're creative
with our flash system, we need to move the main light
around the subject. Remember to keep
the same distance between subject and flash otherwise you will have to reuse the photometer, also valid if
you change the flash accessory. We use a second light source to
separate the subject from the background. We can achieve this by positioning
the light on the hair or focusing around the shoulder
to help with this separation. Or we can position the light
to aim at the background, and change its power, to make the background very bright or simply to bring
a little more brightness to the scene. When using the 2nd flash as a light on
the hair to create separation, it is important to remember the rule that
people with dark hair will need to use 1 F-stop less
than the aperture you are working with , but with very light hair,
you will need to use 2 F-Stops less, otherwise the hair will be burned in the image.
At some point, you'll want to move
to a more extensive creative level, and that's where the
Elinchrom range of accessories comes into play. Tools such as "snoots", "honeycombs" all control light very well,
as do "barndoors". But we can also add different levels
of softness to the light, just like larger softboxes
with 2 diffusers, etc. These accessories will really modulate your light
and give a different qualitative level, much more than basic umbrellas or softboxes. So when you decide to add
a little spice to your portraits, consider adding other accessories
to your equipment. Think about the types of accessories that will allow you
to sustain your work, because remember that with the entire Elinchrom range,
everything fits together perfectly. Whether I'm using a Pro flash range
or a beginner's flash, all the accessories fit together, allowing me to use the light the way I want.
So for
a photographer, Elinchrom allows me
to be as creative as possible or as simple as possible, and that's why I always choose
Elinchrom products..


