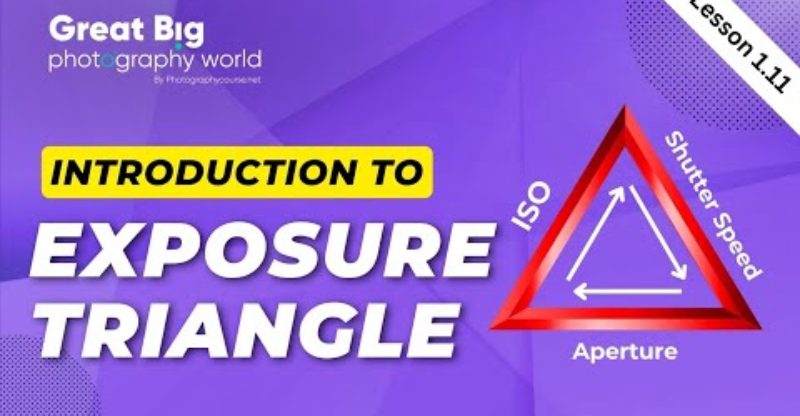
Introduction to Exposure Triangle | Lesson 1.11
[Music] modle one less 11 introduction to the exposure triangle this lesson is an introduction about how to control your camera's exposure settings the word photography literally means writing or drawing with light so I figure the more we can understand about light and use our camera settings carefully to control how much light hits the camera sensor the better photographers we can be the exposure Tri angle is the three functions of your camera that control exposure they are the iso shutter speed and aperture I'll introduce a little of what they do today and then cover them in more detail in future lessons so don't worry if it's a bit of a mystery at this stage the iso setting controls how responsive the sensor is to light it can be adjusted depending on the lighting conditions you're working in I change the iso far less than I do the other two components of the exposure triangle the shutter speed control determines the duration of time the shutter will be open for so a longer duration lets in more light and a shorter duration lets in less light the aperture is a diaphragm in the lens which can be opened wider to let more light in or closed narrower to let less light in it functions much like the iris and our eyes function they're very narrow and bright light and wide open when there's not much light using your ISO setting as a foundation you can then adjust the shatter SP in an aperture so you expose your photos well learning to do this using manual mode on your camera gives you the most control over your exposures your camera also has full and semi-auto modes to assist you in achieving good exposures these are topics of upcoming lessons module one photography course challenge number 11 for this challenge we will begin to see how the three parts of the exposure triangle work together to create acceptable exposures this will be best when your camera is set to manual mode you'll need to know how to view the information your camera's exposure meter provides this will tell you when you have the right settings for your exposure it usually look something like this today choose a fairly evenly lit scene to make your photos first set your shutter speed to 1 to 50th of a second and your aperture to f8 now adjust your ISO so the exposure meter is at zero and take a photo next adjust your ISO to double whatever your first setting was so if your ISO was at 400 now make it 800 then adjust your shutter speed to 1 500 of a second and make another photo leaving your ISO at the same setting set your shatter speed back to 1250th of a second and adjust your aperture to f11 and make another photo write down in your notebook the changes you're making and your observations you will notice that your photos have the same exposure even though you have changed the settings each time well they should be the same exposure if you've done things correctly this is the beginning of Learning how you can work with the exposure triangle to control how your photos will look each of the settings has some other effect on your photos and we will look at these effects in future lessons key points from lesson R the word photography literally means writing or drawing with light the exposure triangle is three functions of your camera that control exposure these are the aperture shutter speed and ISO


