A beginner’s guide to Xperia’s Photography Pro – with Pro Photographer Olle Nilsson
If you like taking photos with
your Xperia phone using the basic mode, I want to show you
how easy it is to go from this to this using Photography Pro on your
Xperia, and I want you to feel inspired to try for yourself and unlock all the creative possibilities
with Photography Pro. So, first of all, what is Photography Pro? As some of you might already know, Sony has their professional Alpha
mirrorless camera system that's used by photographers
around the world, including myself. So Photography Pro on the Xperia
is imitating that same user interface onto the Xperia phones,
meaning you can get professional tools on your Xperia
to capture those wild photos. And for beginners, looking at this might look
a bit overwhelming. So in this video I want to show you
how easy it actually is to use Photography Pro,
and how you can use it to get professional results
without any experience of manual controls.
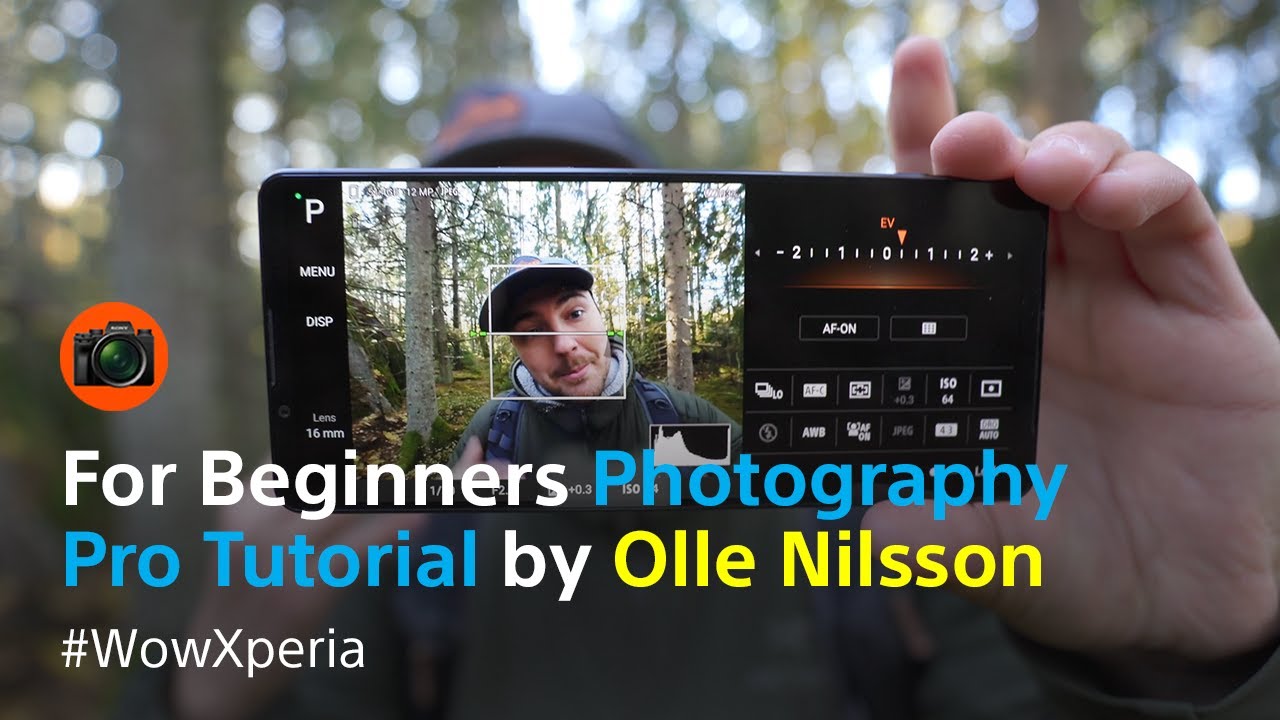
So first, we need to have a quick overlook
over what Photography Pro looks like. And after that look at the different modes and what they do and how you can use them
to achieve a certain look to your photos. So by pressing right here, you can change between the different lenses
on the Xperia 1 IV. Here you have the 16 mm ultra-wide
and the 24 mm wide as well as the 85 to 125 mm
true optical zoom lens.
So by scrolling the wheel right here, you can optically zoom
between 85 and 125 mm, which means you have
no loss of image quality like you normally would on smartphones
with digital zoom. So if you look above, we have a button
that says DISP. It stands for display. And if you press that, you get some tools
and information that will help you to compose an image, such as file format
and storage left, horizon leveling, and down in the right corner the histogram.
The histogram is a tool
to check the shadows, mid tones and
highlights in your photo. But to keep things simple, we're going to leave the histogram
for another time. And on the right side of the screen, we see 12 different buttons,
and we're going to go through some of them. So by pressing here, you can choose
between the different Drive modes. So we have single shooting
and continuous shooting low and continuous shooting high,
as well as say 3 or 10 seconds self-timer. And when you're shooting actions
such as wildlife, pets, sports using the continuous shooting high
is great because then you can simply long press on the shutter button. It takes 20 photos a second,
which is insanely fast. This is good because then you can choose
the best photo out of those, I don't know 100 shots you took. And on this button
you can change the focus mode. AF-S is for still subjects, AF-C is for moving subjects
and MF is manual focus. I personally use AF-C most of the times. So you might have heard
about the term called ISO in photography. I'm going to explain this
in a very simplified way.
So by raising the ISO value you
bright up the photo. And that's because you amplify
the camera sensor’s sensitivity to light. But all you need to remember
is to keep the ISO as low as you can depending on how much light
you have in your scene. So, the higher the ISO, the more noise gets introduced
into your image and that affects image quality. So try keeping the ISO
as low as you can at all times. Now, let's check out the different modes
inside of Photography Pro. So let's say you're in basic mode. You click up here to change modes. Here you have some different ones,
you can choose from. Auto is, you guessed it, all automatic. So the camera decides all
of the settings for you, you just have to point and shoot basically, similar to basic mode. But first I want to mention M,
which is manual exposure. So this lets you set all of these settings
by yourself and I personally think it is very good to learn all
of the different settings and what they do, but as a beginner,
the following P or S modes is a very great way to start elaborating
with manual controls.

So that's what I'm focusing
on in this demonstrational video. So the P is programme auto,
which controls shutter speed for you with all of the other settings
being left up to you. So in the sake of this tutorial, we're going to focus on the exposure
compensation values in this mode. So the exposure of a photo is in very basic
term how bright or dark the photo is, and you read and set the values with this, exposure compensation, and the zero value in the center is what the camera thinks
is the correct exposure. So by placing the arrow
to the left of the center, the minus value, you expose
for a darker image. And if you set the arrow to the right of
the zero, you expose for a brighter image. So should we always set it to
zero to have a correct and the best exposure then? And no. What the camera thinks
is the right exposure is just for guidance.
You are the photographer and you decide how bright or dark
you want the photo to be. So in the P mode, the camera will adjust the exposure accordingly to the value you
set with simply changing the shutter speed for you and depending on the scene
the shutter speed might be too slow or too fast for what you're trying
to photograph. So, here's an example how I set up
the camera using programme auto to go from this, to this. First we're going to dial down the ISO
as low as we can and then set a 10 seconds self-timer for me
to be able to get into the shot before the camera takes the photo.
And then, we're changing the white balance
to fluorescent to get a cold and blue look. Adjust the exposure value to the left to make the lights on the car stand out,
and we got our shot. If we're scrolling to S,
we have shutter speed priority. This mode lets you decide the shutter speed
and controls all the other settings for you, such as the ISO, for example.
And you set the exposure value you want just as in programme auto,
using this button here. And the shutter speed is in my opinion the most important setting
to have control over. The fast shutter speeds are great
for capturing fast moving subjects, because it freezes objects in motion, and the slow shutter speed allows you
to capture motion blur. I guess you see in photos like this. They're taken with
a very slow shutter speed and everything that moves while the shutter
is open gets blurry.
In this case, the water. This can be used in many creative ways. However, a fast shutter speed
needs a well-lit scene otherwise the camera wants to raise the
ISO and introduce noise into your image. And as I said earlier, keeping the ISO
as low as you can is good to remain the best image quality possible. Here's an example how I set up the camera using shutter speed priority
to go from this, to this. First, we need to let the camera know that we want a darker photo
by adjusting the exposure value. Then adjust the shutter speed down
to something like 1/40 or 1/30 and make sure we're in continuous shooting
high to get as many photos as possible.
And lastly, change the white balance
to something that looks good. And now, try to pan the camera
to the exact speed of the car. We just got our shot. So, I hope this video inspired you to try out Photography Pro
for yourself and I'd really like to see what you come up with your Xperia phone. So make sure to use the hastag
#WowXperia when you're posting your photos. So, until next time have a good one
and I'll see you. Bye..


