How to Turn Hazy Photos Into Nostalgic Masterpieces
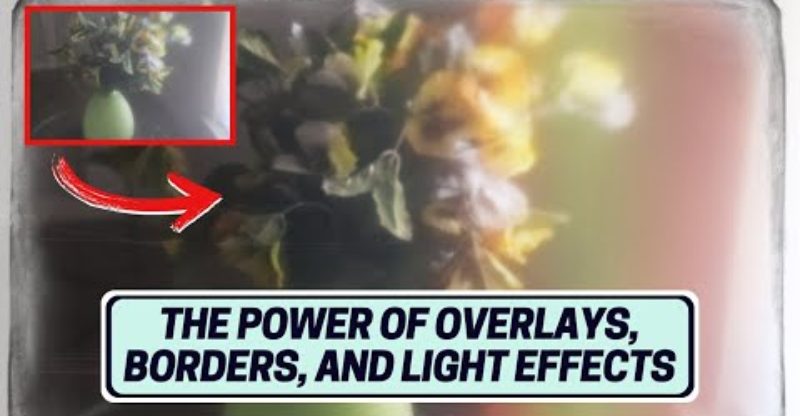
hello and welcome to another episode of editing Friday today I'm editing a photograph by one of our community members Didier Didier thank you so much for contributing your photograph this was a submission for our Haze theme we have a 52e project that you can join by clicking on the link in the description every week you can take a photo for a specific theme and so Didier created a very beautiful effect using the haze technique so if you want to find out more about that then join our 52e project but he created this photograph using a very simple and practical technique and it really adds a lot to the subject I think if he didn't use this technique it would have a completely different maybe still life feeling but because of the technique it looks very dreamy and ethereal and I would like to make it stand out more so with the haze effect naturally get this glow around the subject and around any backlight that you work with so in order to make the subject stand out more you can increase clarity we can also play around with Vibrance so that it stands out even more but the only thing that I I'm a little bit not happy with in this photograph is the green color so I'm going to go down to color I'm using exposure x 6 by the way X7 sorry and you can use any program that you like cuz they have pretty much the same techniques same adjustment tools except for the overlays that's a different topic so I'll go down to saturation go to Greens see if I can remove them and yes I can if I drag the slider to the left I will drag it a little bit to the left right here and then the yellows I don't want to completely desaturate the shot so I think that the yellows would look really good if I enhance them just a little bit and then the greens I'll try to decrease even more and then the yellows back up like this so just a little before and after I want there to be more color balance the next thing I want to do is add a little bit of contrast to the photograph because this is an indoor shot and I feel that it would look even better if I played around with the blacks and the shadows and I created more contrast and because this Photograph was taken using a high ISO I want to reduce noise so I'll go to noise reduction and I'm going to increase the brightness I'll try to smooth this will work if I zoom in so you're going to see a detailed version of this closeup here so before and after detail is not too important in this shot to me because I as you can tell it's a hazy photograph so it doesn't need to be too specific or too detailed and now all I would do is I would play around with the colors so you can play around with presets what I like to do is go to the tone curve and create an S shape like this and photos like this they're not going to be clear they're going to look a little blurred as you can see so that's just the nature of this technique and I'll go down to the RGB Channel and I'll select red and again I'll play around with the S curve it's looking a bit weird now trust me it's going to look better and then blue and then I'm going to go to intensity and drag it down because I don't want it to be too intense so before and after and then I'm going to go down to overlays which is unique to exposure x 7 and click on light effect because I want there to be a light leak effect the reason being that this Photograph already has a nostalgic feeling in it so I want there to be an even stronger nostalgic effect only because that's when I'm in the mood and that's what I'm in the mood for at the moment so I think this looks really nice looks a little bit more natural I want it to be from the side so I want it to be coming from the window right here so already when you add a lightly it emphasizes the fact that it's a nostalgic photograph I think that's great and then texture as well I want to play around with that because I want to add to the analog feeling kind of play around with scratches maybe scratches look cool but I think I'm going to decrease the opacity a little bit later so we'll scratches like this decrease the opacity a little bit before after so this is what I would do with this photo so if you do have a photo that you feel is a little bit too dull or maybe it's lacking some Shadows you can play around with contrast but you can also add light leaks and textures and it will instantly enhance it so this is what I do with this Photograph before and after we can even go crazy with it get go even more intense increase Clarity even more you can play around with borders which I like to do so we have some grunge borders we have some print borders it's really fun what you can do in this program especially if you do like the analog effect film I think is super cool but I think damage would look even better because this Photograph has this old feeling to it so you kind of want to make it look like it has been sitting Aging for a while simple sloppy really anything you like I think Polaroid looks cool as well and then we have some normal ones like this so play around with this if you can I want to I'm going to go with I really like the grunge overlay to be honest the borders so this is what I would do with this Photograph I hope you like it obviously this is very subjective this is just my personal taste but I hope this taught you a little bit more about the program and inspired you to get into editing even more thank you for watching and I'll see you soon


